Hola and welcome to Where on Planet Earth! In case you got here by accident and are not yet a subscriber, sign up below! For more visuals on our travels follow us on IG @whereonplanetearth
As we are about to leave the warm cocoon that is our home in Tulum, along with its beautiful, wide, and comfortable kitchen, I thought I could share a bit about my cooking journey, some of my favorite recipes and general cooking methods, and ideas regarding how to cook more - in case that is something you want to be doing. Besides, I get asked quite often for recipe links so now I will have this handy post to send over :).
Just like traveling, cooking is a great passion of mine, but I didn’t discover it until my mid-twenties, when my interest picked and I started experimenting in the kitchen a lot more. I had always loved to eat, but didn’t grow up cooking or learning how to cook - although I really wish I had been smart enough to spend time learning from my maternal grandmother, who was an incredible Italian cook. My point is that you don’t need to love cooking today to end up liking it in the future, but you do have to give it a try - in earnest - to potentially fall in love with it.
Nowadays, particularly when we are home, I cook a lot, almost every day and in fact multiple times a day. When people ask me how I am able to cook so much at home my initial cheeky reply is “I don’t have kids!”, but although there is some truth to that, it’s also because I am practical and very organized.

More and more I simply ignore a recipe if it sounds complicated or has ingredients that are difficult to get. You can make an incredible meal with the most basic of ingredients, so why bother? I also always have certain staples in my pantry, and make some dishes over and over that last for a while and go well with many things, like beans and salsas. And, I am organized with my cooking, both to not waste food and to never feel like “there is nothing to make”.
But, what does this mean? Well, here is what I do:
Keep track of what you have and what you need.
To put it simply, have a list. This is what mine looks like today.
Pretty basic, but it does the job. In here I keep track of 1) ingredients I need to buy to make things I want to make and, 2) dishes I already have ingredients for that I should make. And yes, I mix my languages ;)
I am constantly updating this list, so I never feel like there is nothing to make for dinner. Some of the things in the list are basic dishes I always do (like beans) and like to keep in the fridge, but most are either favorites of ours I keep on rotation, or recipes I saw somewhere that I want to make, which leads me to the next point.
Follow accounts and blogs / Have and read cooking books
Even if you are amazing at improvising and cooking with whatever you have at hand, seeing others make recipes or reading them in a book or blog can work as inspiration for your next meal. Here is what I use / who I follow:
NYT Cooking. Probably my most-used avenue for cooking. Easy to search for specific recipes, ideas in general, or what I have at hand (i.e. “eggplant”) and see what comes up. Simple to organize favorites inside the app and also note when you don’t like a recipe so you don’t make it again. You do need a subscription to it but we also read the NYTimes so have a subscription that includes both and this works great for us. IG: nytcooking
Blogs / Books. There are many many many cooking writers, these are just some of my favorites.
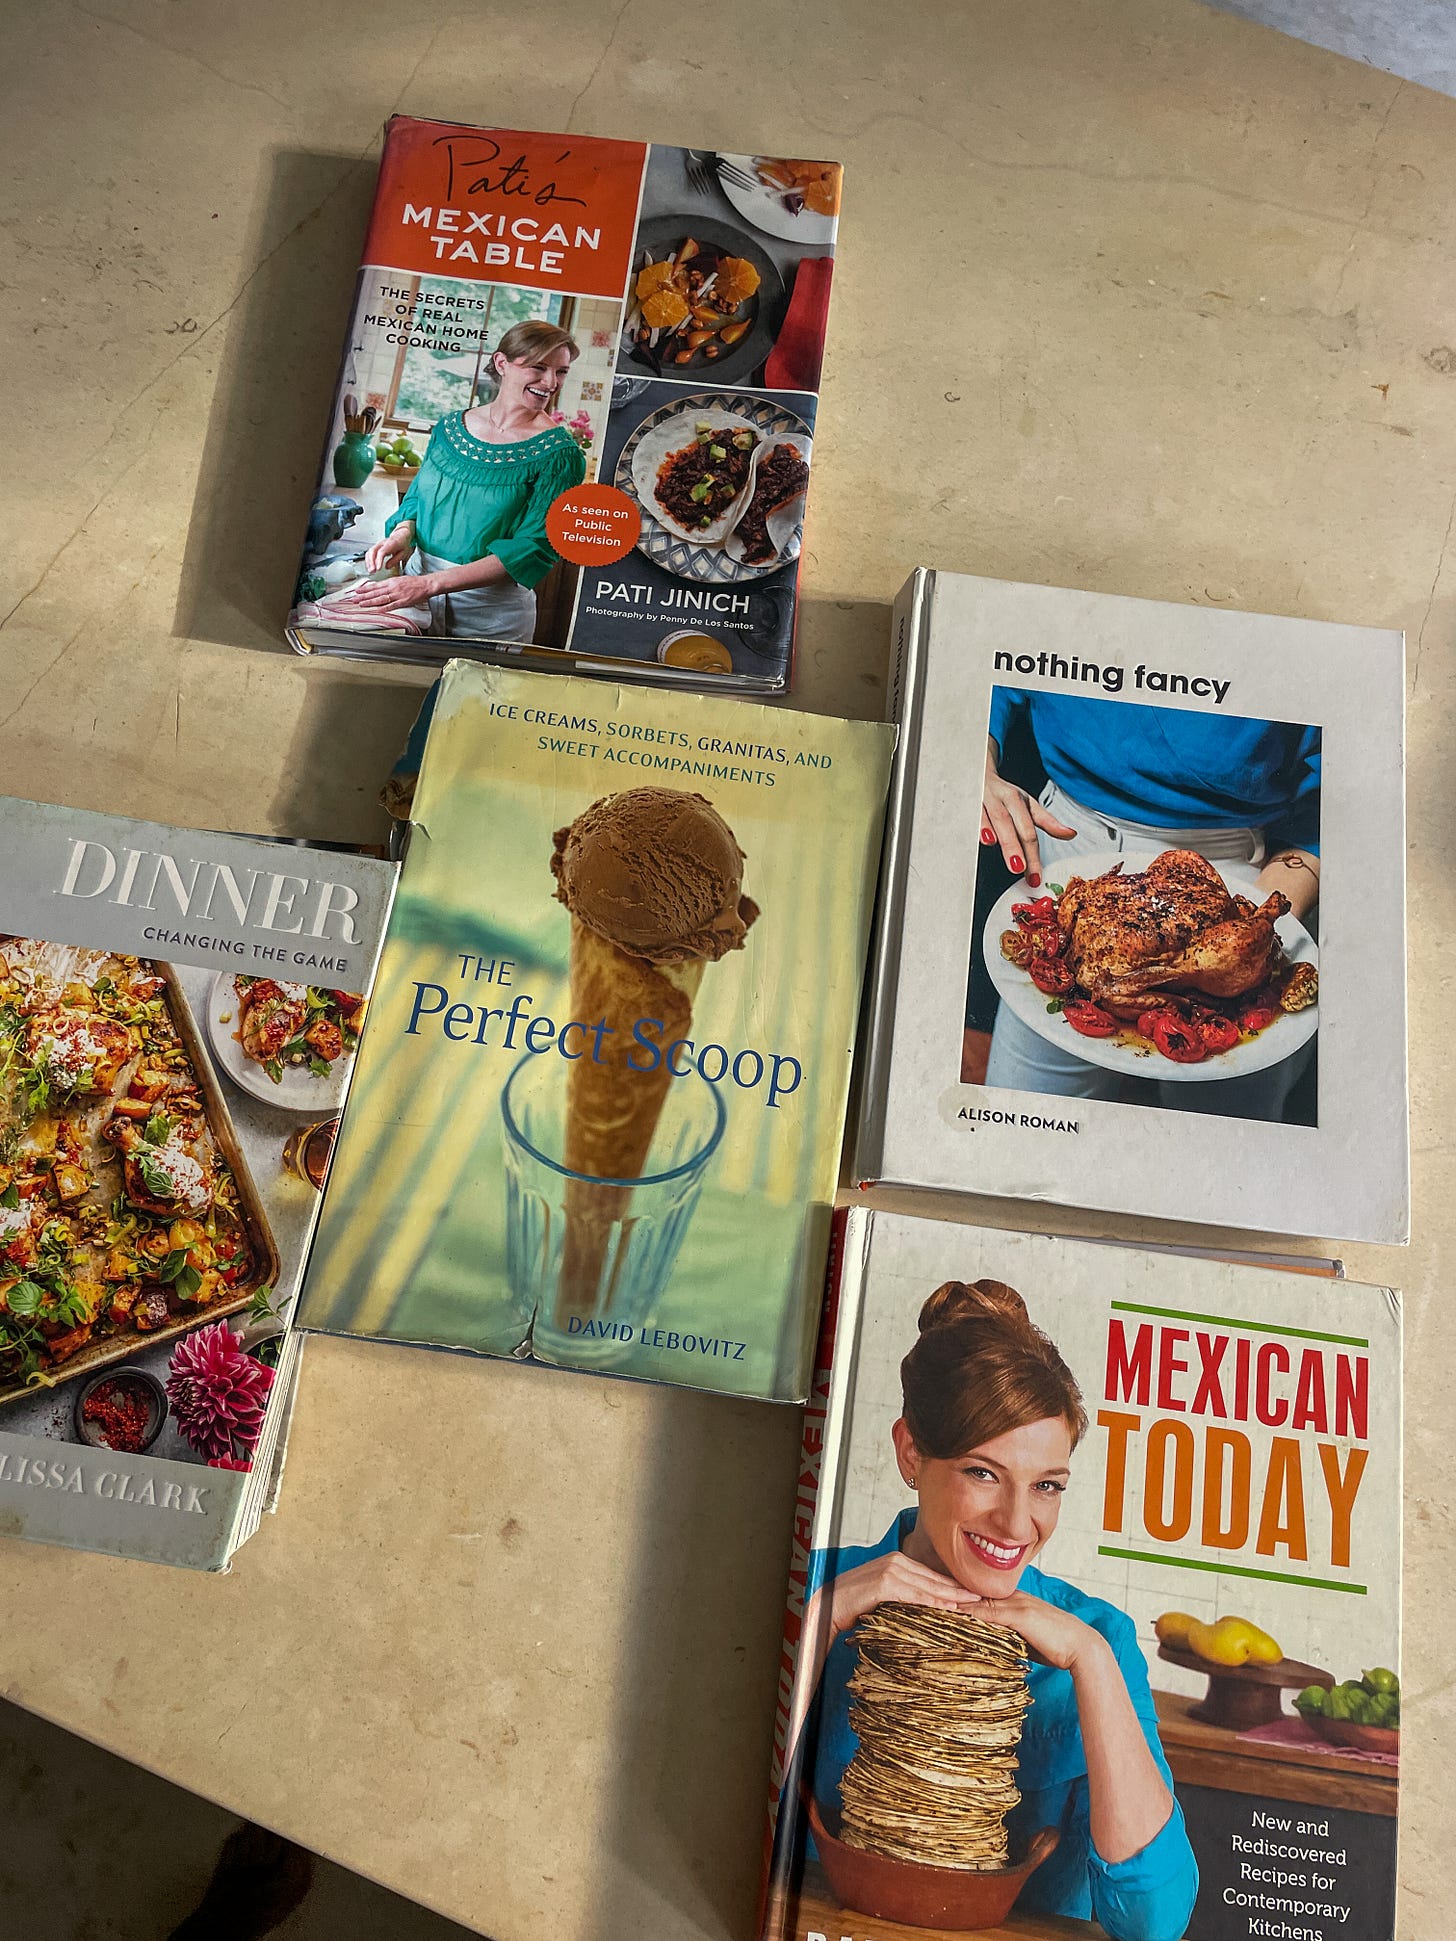
Alison Roman. I follow her blog an also have her books and honestly it’s hard to find less complicated and more satisfying recipes than Alison’s. I am a big fan, like many other people :). IG: alisonroman
Pati Jinich. If you are in the USA and are looking to learn how to cook Mexican food then Pati is the perfect teacher. Her recipes are accessible and simple, and as a Mexican who has lived in the USA for many years she is really thoughtful about ingredients. She also has a blog and several books, all excellent. IG: patijinich
Melissa Clark. She writes for the NYT but also has several very solid books with many different types of recipes, great for quick weeknight dinners. IG: clarkbar
David Lebovitz. Amazing dessert and baking recipes. Oh, and the best ice cream! IG: davidlebovitz
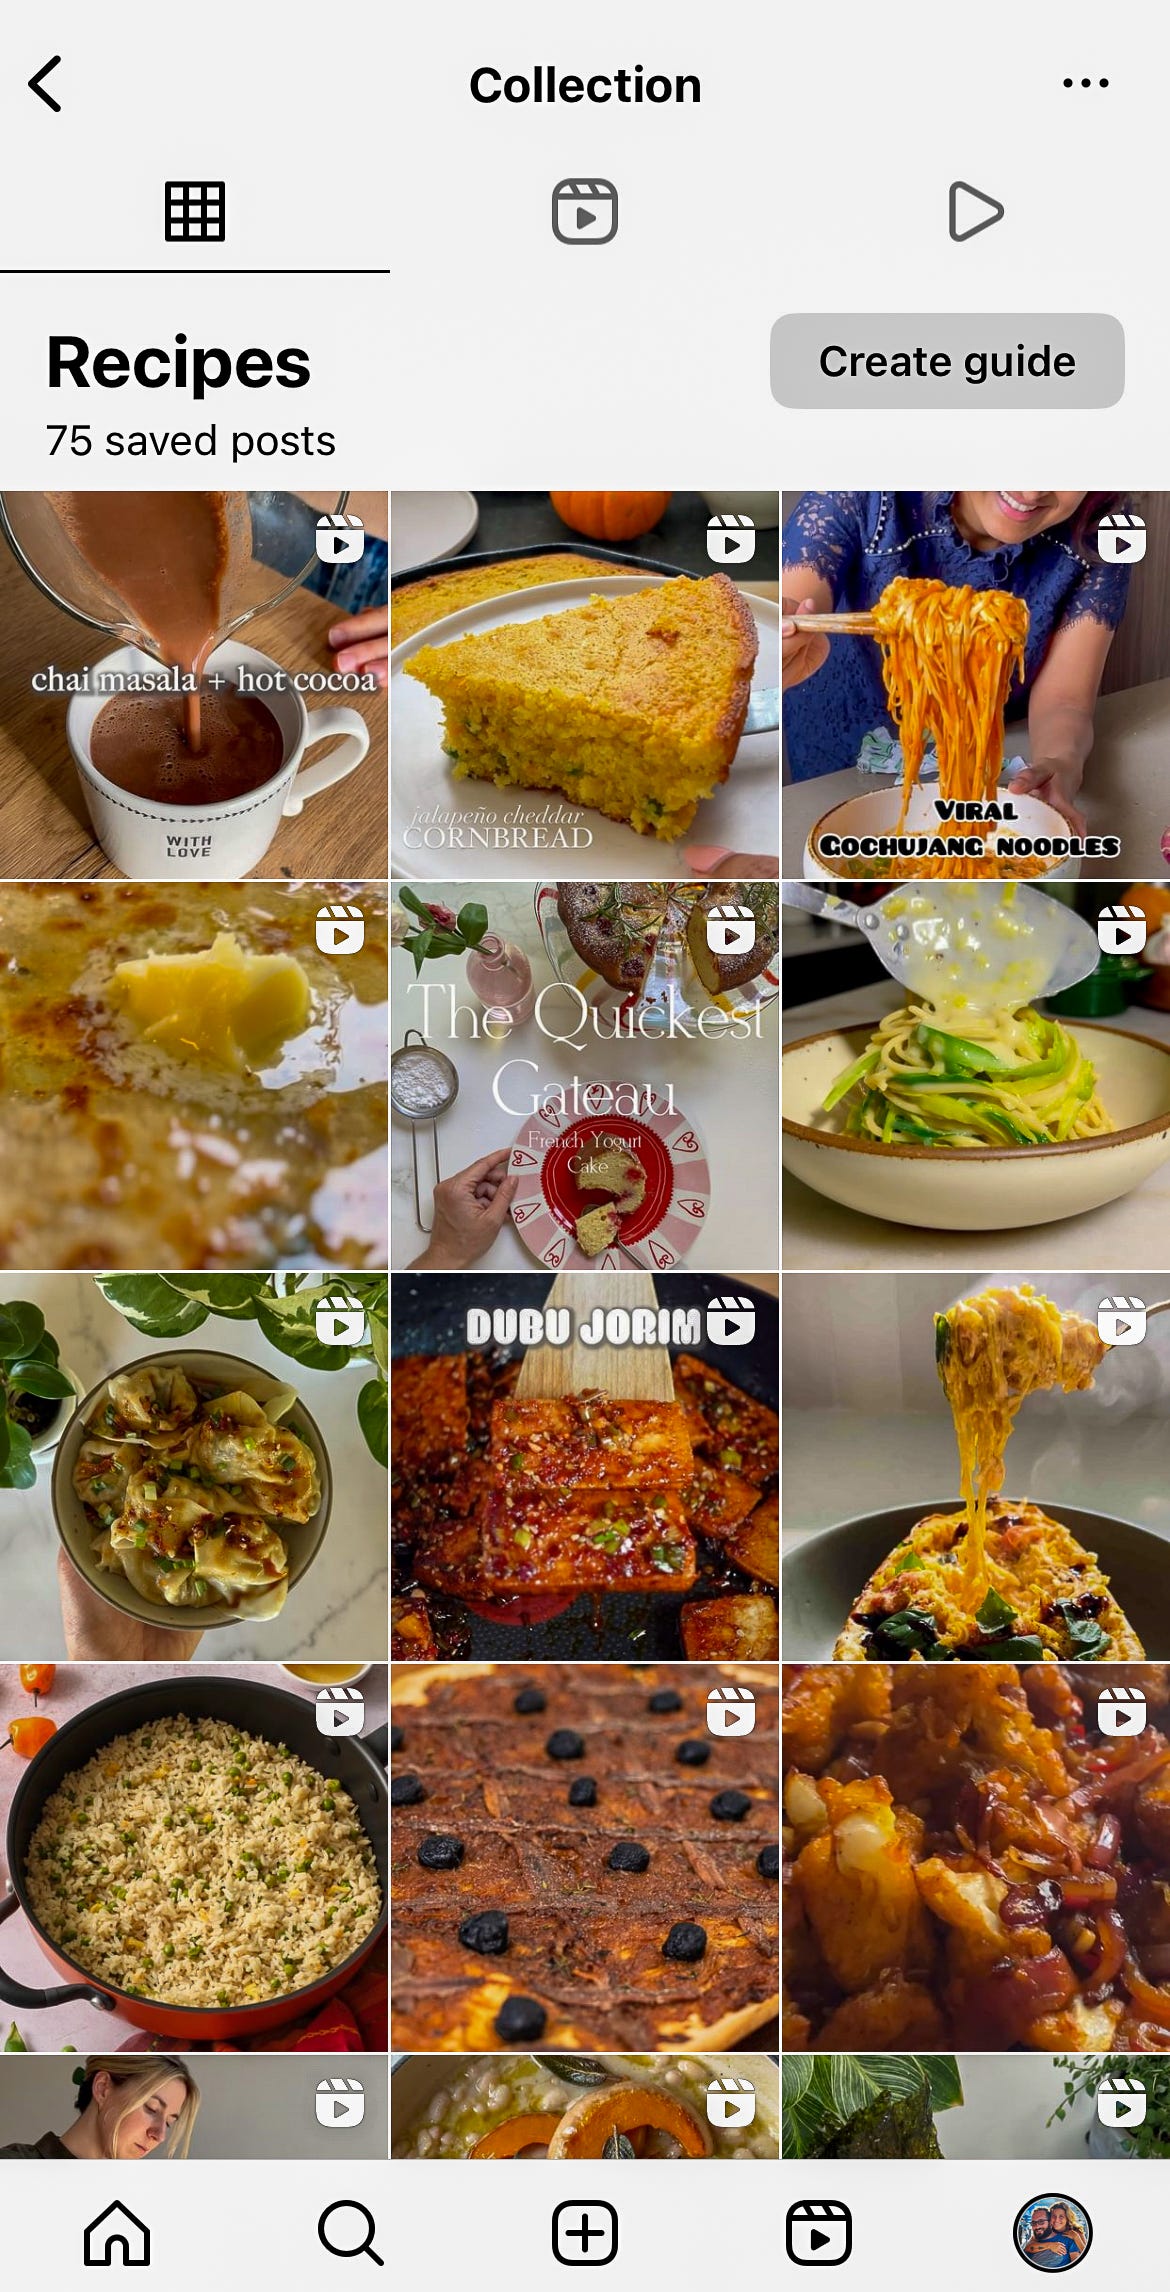
Instagram Accounts. The amount of IG accounts solely devoted to recipes is outstanding, and honestly quite useful. I save recipes I see in IG all the time, some are from accounts that I already follow but many more are just reels IG shows me because it knows I like and save recipe reels. But, here are some accounts I actually follow and have cooked from:
General cooking accounts: bonappetitmag, cooksillustrated, buzzfeedtasty, thekithcn,
Specific people accounts (some might also have blogs/books or write for NYTcooking): acozykitchen, rozetraore, ericjoonho, chetnamakan, fitgreenmind, lahbco, markbittman, cloudykitchen, thekoreanvegan
Side note: I also loveee to take cooking classes when we travel. I have learnt a lot from classes and to this day I apply a lot of those learnings to my cooking, both with specific recipes and also techniques. Highly recommend it!
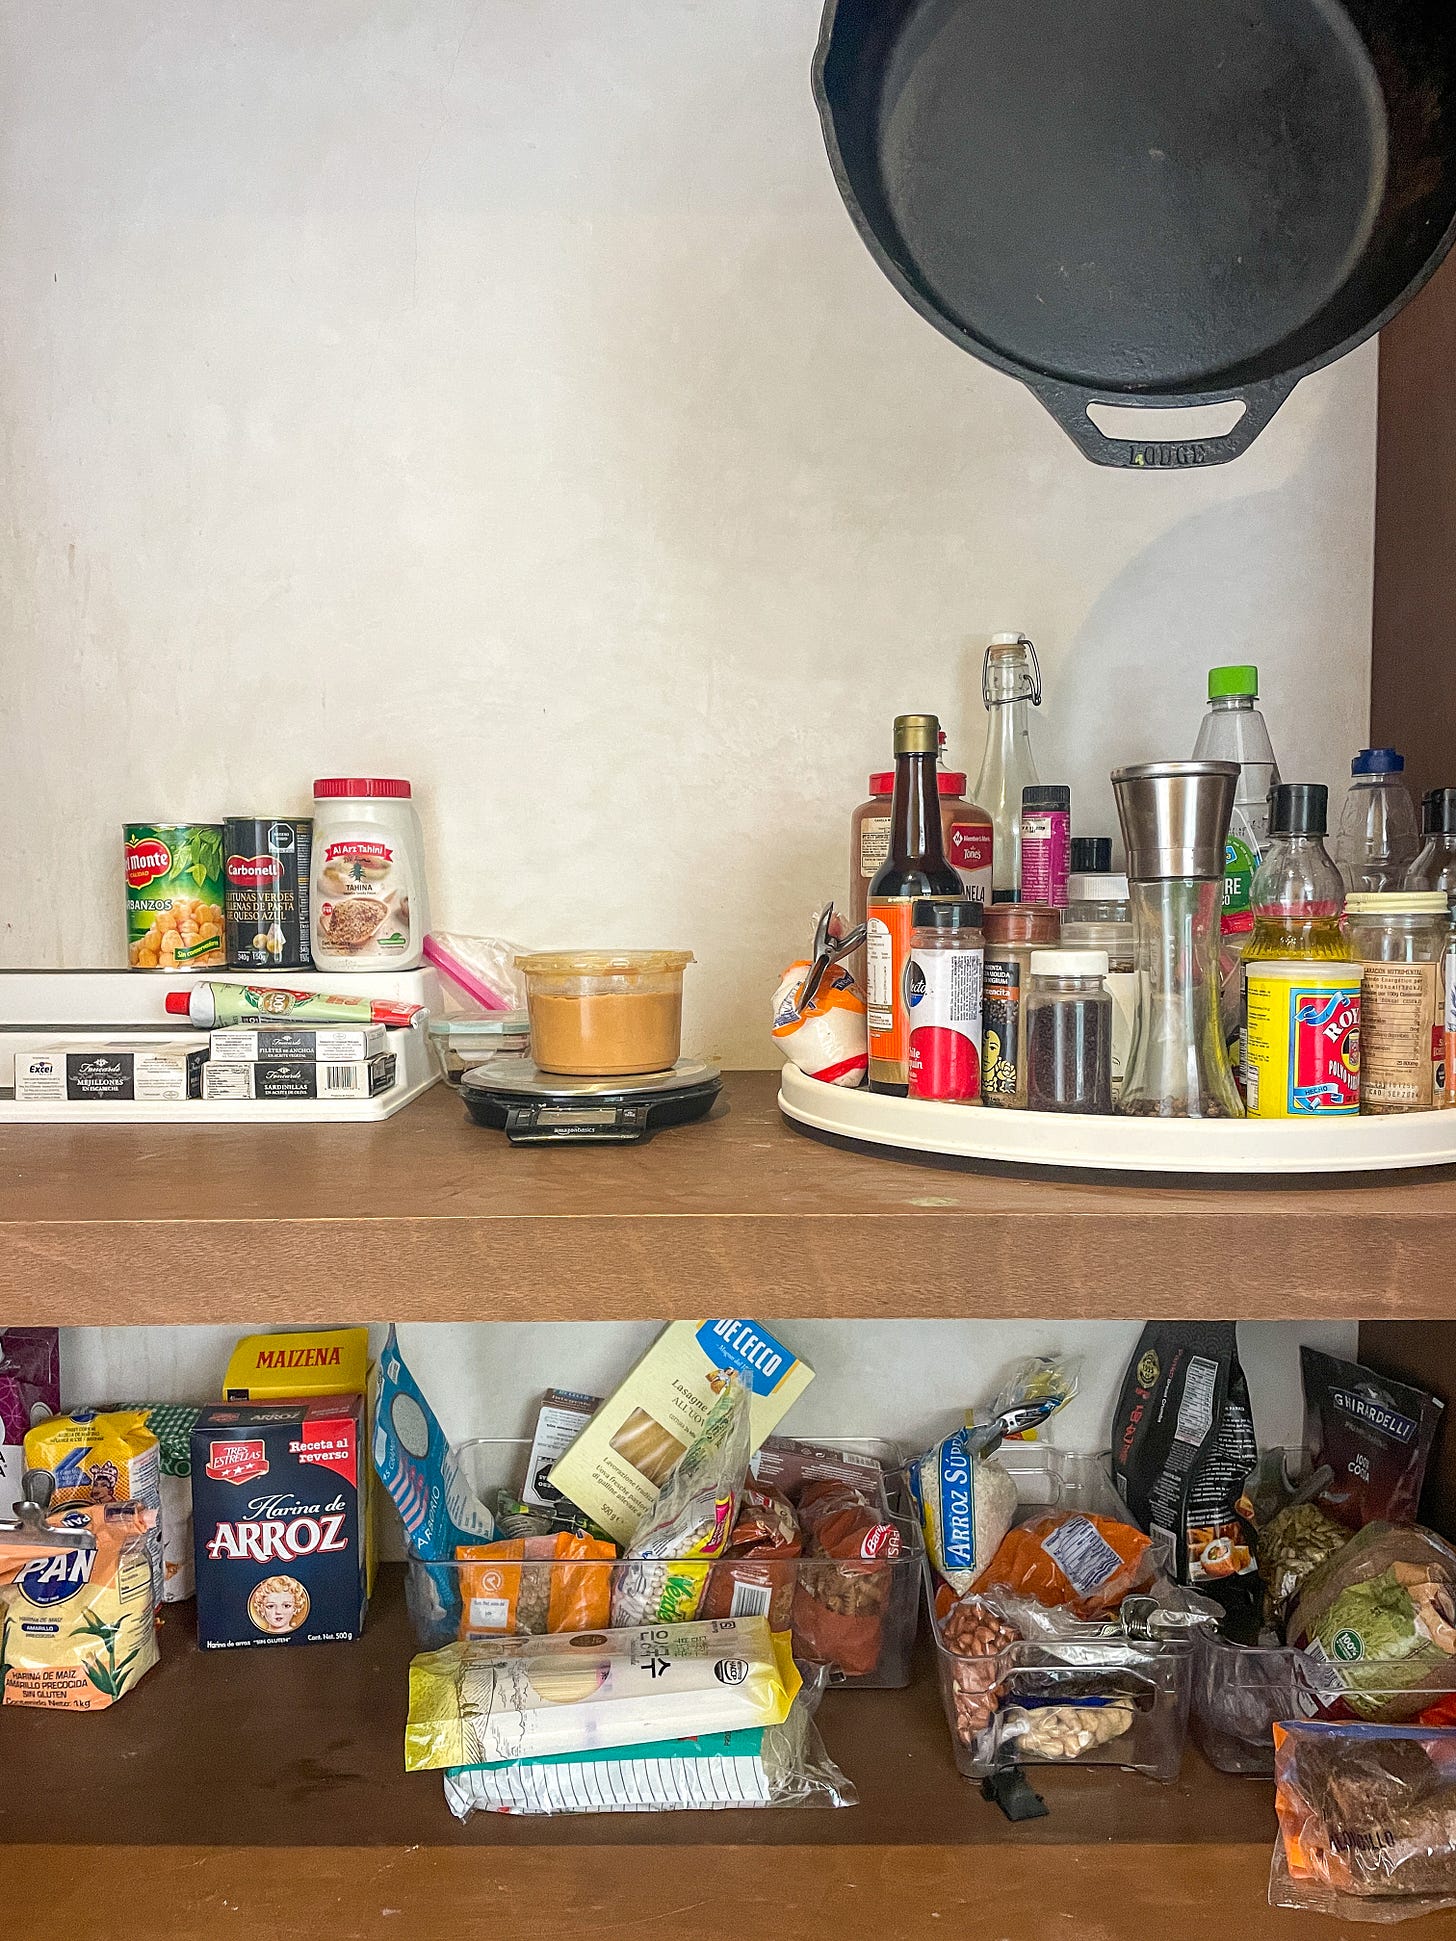
Keep certain pantry basics in your house, always
Everyone has their own “pantry basics”, but the point here is to know there *are* basics you should have to make your cooking easy and effortless. Here are mine:
Kosher salt! It really does make a difference. Also, fine salt and flaky salt.
Extra virgin olive oil, good quality but also no need to break the bank! I cook almost everything with it, but also always have vegetable oil on hand.
Flour, all purpose, whole wheat, almond, and in this house also harina pan (for arepas).
Pasta, several different types, always a short and a long.
Noodles, rice and flour.
Beans, canned and dried. Used for different things, for example I make black beans from dried but usually have other canned beans for chili, as well as chickpeas for a bunch of different recipes (though I sometimes cook those from dried too, specially to make hummus).
Chilis, fresh (jalapeno, serrano, thai) and dried (chipotles, ancho, pasilla).
Rice, long white, jasmine, brown, and arborio.
Sugar, white and brown.
Onions (all kinds) and garlic.
Limes and lemons.
Milk, greek yogurt, cream, butter (unsalted for cooking and an excellent quality salted one for eating on bread, arepas, etc)
Cheeses, any and all, but the ones that are never missing in my home are parmigiano reggiano (it’s worth the price, and don’t get it shredded) and feta (or queso fresco when in Mexico).
Canned tomatoes and tomato paste, good quality.
Chicken (or veggie) stock, go with “Better than Bouillon” if you can find it.
Anchovies, capers, and olives.
Baking stuff, baking soda, baking powder, cocoa powder, chocolate, vanilla bean (mostly for ice cream), and vanilla extract.
Nuts, I love them all but always have peanuts, cashews, and hazelnuts.
Condiments: vegetable oil, sesame oil, soy sauce, apple cider vinegar, white vinegar, rice vinegar, fish sauce, Worcestershire sauce, whole grain mustard, pesto, peanut butter, tahini, gochujang, harissa, curry paste, chili oil.
Spices: at the very least red pepper flakes, cumin, paprika, black pepper, cayenne, and cinnamon. But the list can be interminable here.
Consider buying some kitchen essentials
As someone who travels a lot I can confidently say “you can cook anywhere”, but I can also confidently follow that with “not necessarily comfortably or efficiently”. Out of the many places we have stayed while traveling I can count with one hand those that had a well-equipped kitchen. Getting home to my kitchen and my “kitchen stuff” really does make my heart happy because I can finally cook comfortably. Here is what I consider kitchen essentials:
A good quality knife. Honestly, all you need is one good knife, but you do really really need one. I used to travel with mine, which I got in the Kyoto market, has my name engraved in Japanese, and it’s always perfectly sharp (don’t ask me how), but I didn’t take it on our sabbatical and missed it with all my heart. I haven’t found any other knife that compares to it so I don’t have any good recommendations, please send over if you do!
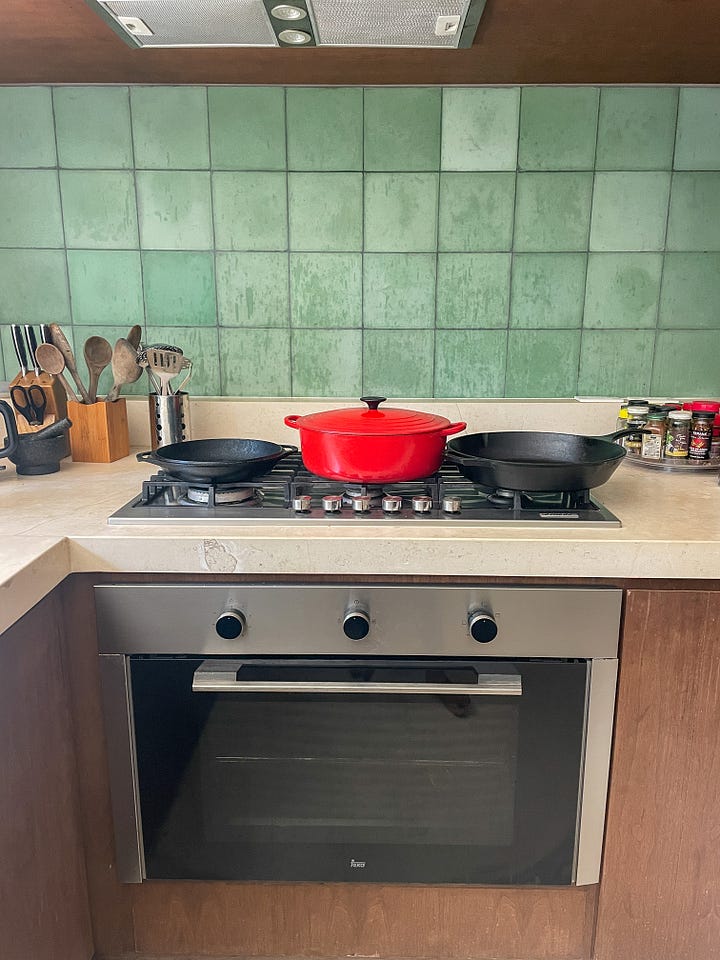
Skillets, pots, and dutch ovens. The perfect amount (for me) in order to be able to cook absolutely everything comfortably is:
Two skillets, preferably cast iron but can also be stainless steel, an 8” and a 12” (I find Lodge to be a good affordable brand).
Three pots, a 2-quart, a 4-quart, and a 10-quart.
One dutch oven, 6-quarts.
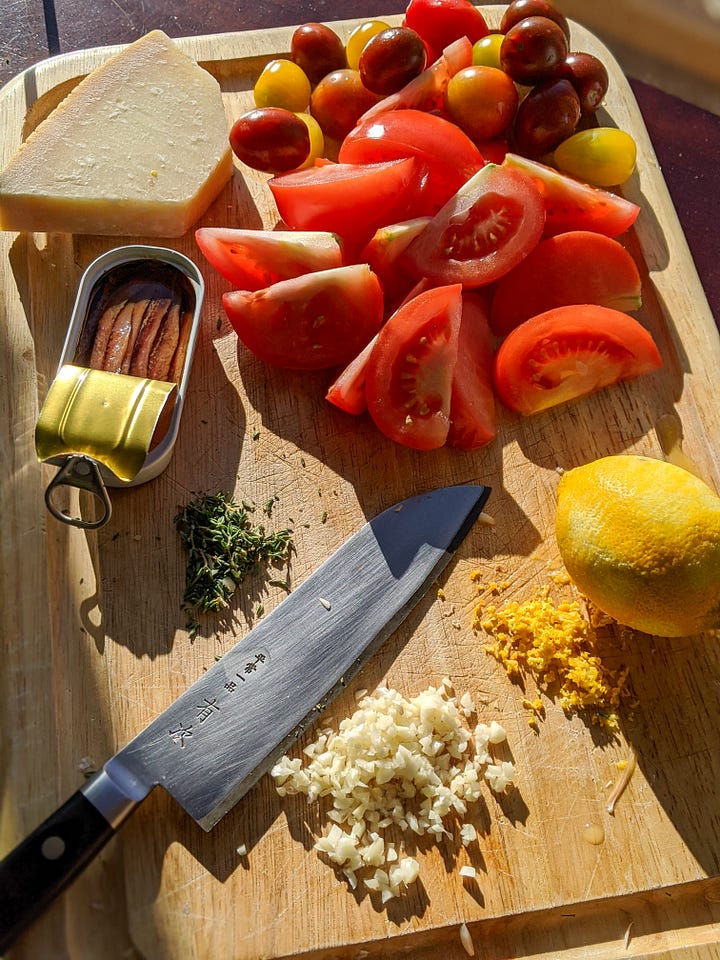
Cutting board. You need at least one really good quality cutting board, preferably of wooden material. The truth is that I have tried dozens of them and I also don’t have a great recommendation yet in this department. If you do, please send over.
Scale. A kitchen scale is extremely useful, specially for baking but honestly I use it for a lot of recipes.
Mixing bowls. Probably my most-used equipment. You need *at least* a set of three in different sizes but more is better.
Sheet Pans. A very multi-purpose item, I like the regular aluminum ones (13” x 18”) or the glass pyrex ones (9” x 13”).
Blender, a good one! I swear by the Ninja kitchen system that has all in one.
Pressure cooker. In my house I use it mostly for black beans, but to me it’s essential. The Instant Pot are functional and affordable.
Toaster. You simply need one, any kind is fine.
Tupperwares! If you are going to be cooking, they are an absolute necessity! to save leftovers, store sauces, freeze ice cream, etc.
Other smaller items: measuring cups and spoons, set of colanders, peeler, grater, silicone spatula, tongs, wooden spoon and spatula, ice cream scoop, lemon squeezer.
There are other “non-essentials” that are really nice to haves, like:
Air fryer. We recently got one as a gift and honestly I love it and use it a ton. I can’t remember brand or model (it’s in Park City) but it’s a pretty basic one and works great so I don’t think there is much to them.
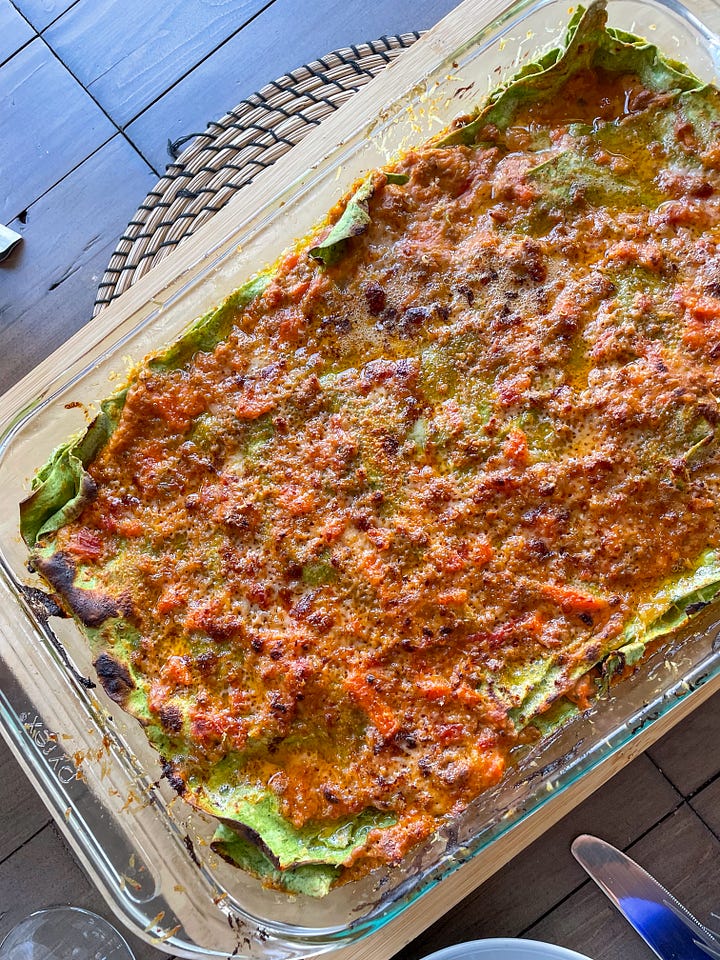
Pasta maker. To make incredible pasta at home, from scratch! The best lasagna I have eaten in my life we made ourselves using this pasta maker! The recipe was from a great cook book called Essentials of Classic Italian Cooking by Marcella Hazan.
Ice cream maker. For the best ice cream, make it at home. It’s honestly so much easier than you think, and it’s fun!
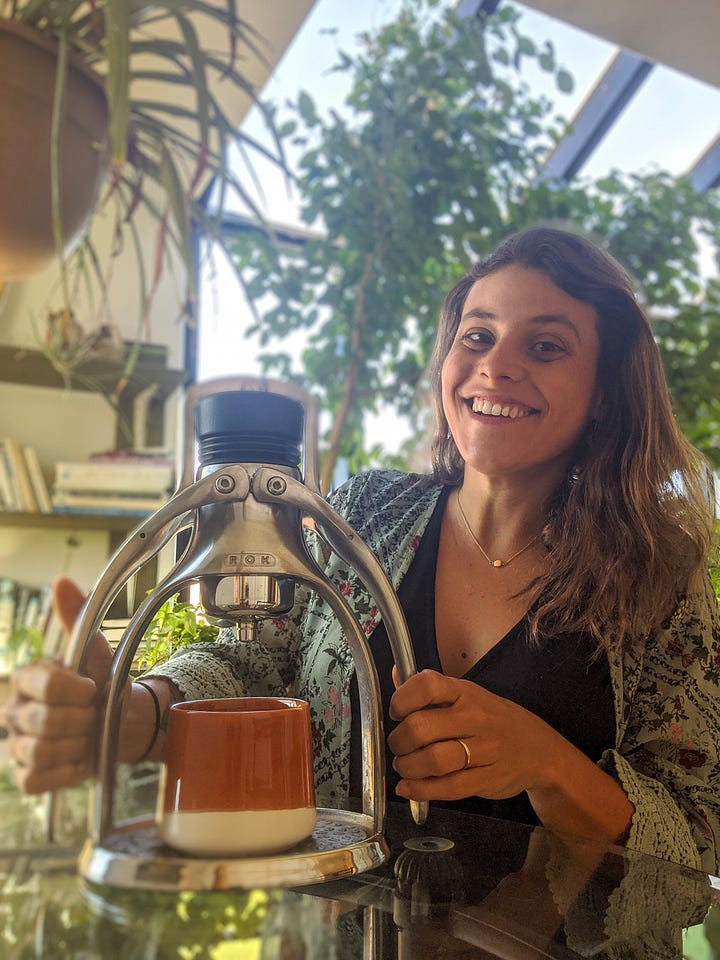
Coffee equipment. We like expresso-based drinks and swear by our trusty ROK. To froth our milk we use this Breville beauty, and this to grind our coffee.
Orange juice squeezer. If not, what are you going to do when you want mimosas?
Lastly, use your freezer
Don’t think of your freezer only as the place to keep ice cream. Honestly, most everything freezes well, and then you have stuff there super handy. I freeze butter, cheese, bread, beans, and pretty much anything I make too much of that don’t want to eat for seven nights in a row. A couple of weeks later I can pull it out and have an incredible dinner with zero effort. Here is a quick guide on freezing food.
Now onto some of my favorite recipes! These are those that I keep making again and again. There are others that live in books and are too long to share here, but this is a pretty long list regardless. I will update it on an ongoing basis!
From Pati / Mexican!
Salsa Macha
An incredible sauce of chipotle, peanuts, and sesame. Very spicy, holds well for a while in the fridge.
Salsa Verde
Chilaquiles
Guacamole
Tomatillo & Avocado Salsa
Ingredients: 1lb tomatillos, 1 large avocado, 2 tablespoons of white onion, 1/4 cup of cilantro leaves, 1 serrano chile, 3/4 teaspoon of kosher salt
Blend it all together!
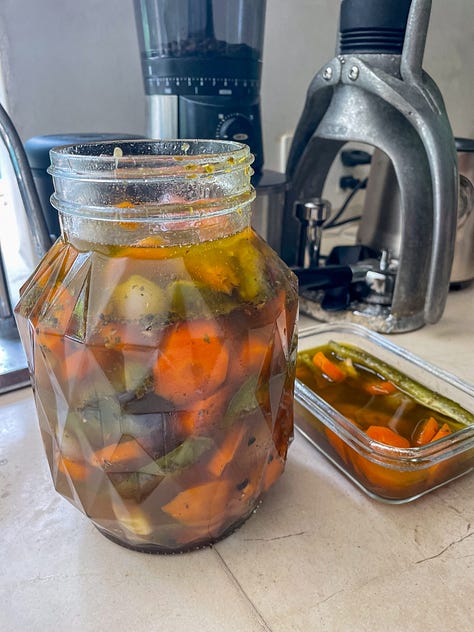
Pickled Jalapeños
Such a staple to have in the fridge to accompany any meal. I generally put more carrots than anything else because it’s what I like the most!
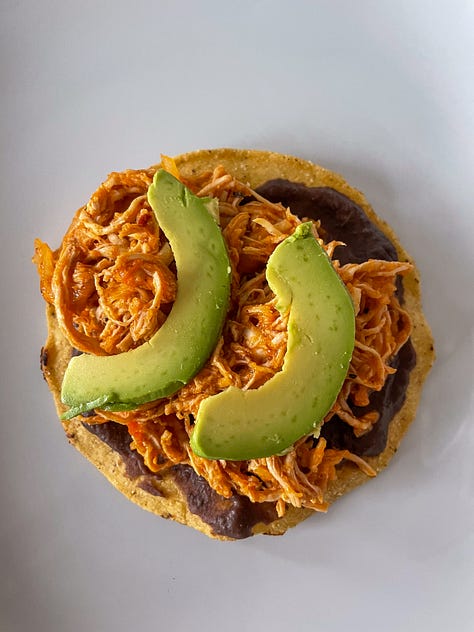
Chicken Tinga Tostadas
A great thing to cook when hosting people.
Pickled Onions
Shrimp Enchiladas in a Rich Tomato Sauce
Big Brunch Enchiladas
Tex Mex Chili
I make it with 1lb of ground turkey instead of all the meat that it calls for and it’s delicious, specially the following day once the flavors have had time to settle into each other.
Corn Torte
For a really “wow” dinner, make this alongside the three things below: red rice, salad, rajas, and shrimp mole. One of my favorite combos to make for a fancy dinner party.
Red Rice
Watermelon & tomatillo salad
Poblano Chiles
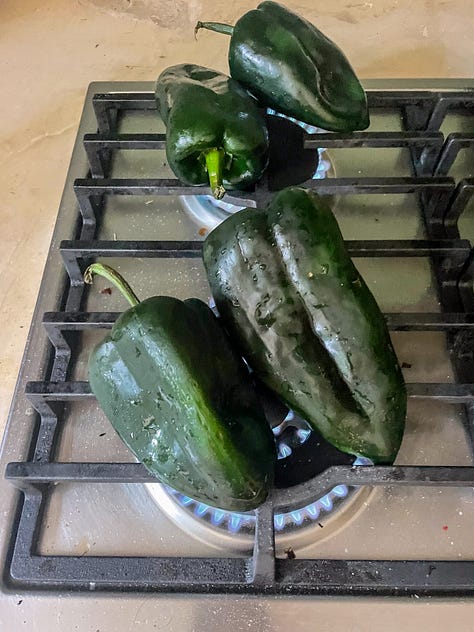
This critical ingredient of Mexican cooking is very rarely used raw. Instead it’s charred and peeled to bring out its amazing flavor. I generally do this process for many poblanos at a time and then keep them in the fridge for daily use (I love to throw them in scramble eggs for instance). You can also freeze them!
First up, place the chiles under the broiler, on a hot comal, or directly over the flame of a gas stove/grill (this is how I prefer to do them). Then roast them, turning them every 3-4minutes for about 10min. You know they are done when their fresh is cooked and black in some areas (I like to take them there!). Then put them in a plastic or bowl and seal the bag or cover the bowl to allow the chiles to sweat for at least 10 to 20min. I always wrap the plastic bag in a kitchen towel. Lastly, remove the charred skin with your fingers, sometimes it helps to do it under a thin stream of running water. Then remove the seeds and stem and use in, for example, the below recipe.
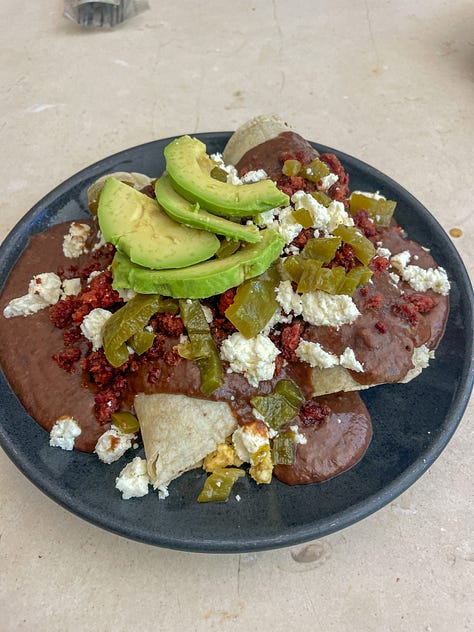
Creamy Rajas
From Pati’s Mexican Table
Ingredients: 3 tablespoons of unsalted butter, 1 1/2 cups slivered white onions, 1 lb poblano chiles prepared as described above and sliced into strips, 1 tsp kosher salt, 1/4 tsp black pepper, 1 cup Mexican cream (or heavy cream), 1/2 cup of crumbled queso fresco, cotija, or feta.
Heat the butter in a large skillet over medium-low heat until melted and foamy. Add the onions and cook until soft and starting to gently brown, around 15min. Increase the heat to medium-high and add the poblano chile strips. Sprinkle with the salt and pepper and cook for a few minutes until the chiles have lightly browned. Reduce the heat to medium, add the cream and cheese, and cook, tossing gently, until it thickens, 5-6min.
Shrimp in Red Pipian
From Pati’s Mexican Table
I love any and all types of moles, which btw there are thousands of. But, I really like pumpkin seeds, peanuts, and sesame, so Red Pipian is one of my favorites.
Ingredients: 2 lb shrimp (peeled and deveined, shells reserved), 2 1/2 tsp kosher salt, 6 guajillo chiles (rinsed, stemmed, and seeded), 2 ancho chiles, 1/2 cup raw pumpkin seeds, 3 tbps sesame seeds, 4 whole cloves, 1 lb tomatoes, 3 garlic cloves, 1 thick slide white onion, 1/2 unsalted roasted peanuts, 1/2 tsp cinnamon, 1/2 tsp of black pepper, 2 tsp dark brown sugar, 1 tbsp apple cider vinegar, 3 tbsp vegetable oil
Place the shrimp shells in a large pot, cover with water, add 1/2 teaspoon of salt and bring to simmer. Cook for 20min and strain the broth, discarting the shells.
Heat a comal or a skillet over medium low heal until how and then lay the chiles flat in the pan and toast them for 15-20 sec per side until they become fragrant and pliable. Transfer the chiles to a pan and cover with water. Bring to summer over medium heat and cook for 10min.
Toast the pumpkin seeds in the comal until you hear popping sounds and they begin to brown lightly. Set aside. Add the sesame seeds and toast until light brown, 2 to 3min. Toast the cloves, until they turn darker and are fragrant, 30-40sec.
Char the tomatoes, garlic, and onion under the broiler, on the comal or an outdoor grill at medium heat, turning occasionally until nicely charred and softened, around 10min. When the garlic is cool to handle, peel it and place in a blender or food processor along with the tomatoes, onions, and the chiles, with 1 cup of their cooking liquid. Add the pumpkin seeds, sesame seeds, cloves, peanuts, cinnamon, the remaining 2 teaspoons salt , pepper, brown sugar, and vinegar and puree until smooth.
Heat the oil in a large pot over medium heat until hot but not smoking. Add the puree and 4 cups of the shrimp broth and simmer, partially covered, for about 45min, stirring often so the sauce doesn’t stick to the bottom, until thickened and deepened in color.
Raise the beat to medium-high, add the shrimp, and simmer for 2-3min then turn off the heat. Let the shrimp finish cooking in the sauce, about 5 more minutes, then serve.

From Alison
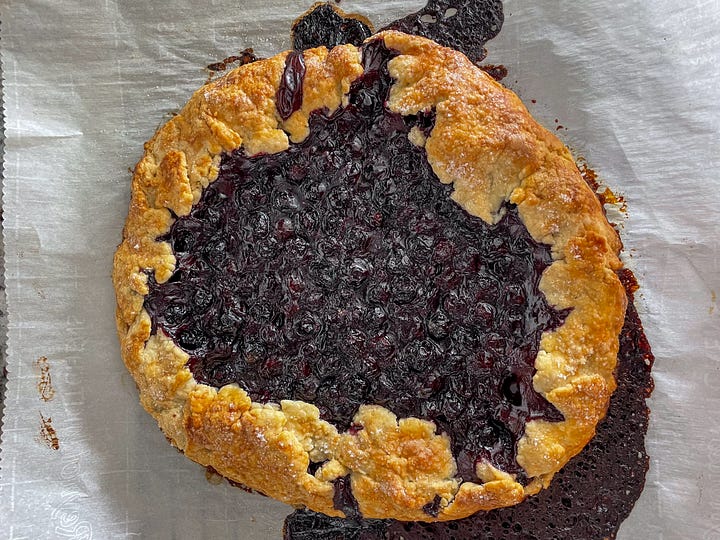
Pie Crust (Galette)
The only pie crust you will ever need, trust me. I have made it dozens of times and have filled it with both savory and sweet fillings and has never ever disappointed.
Frizzled Chickpea Salad
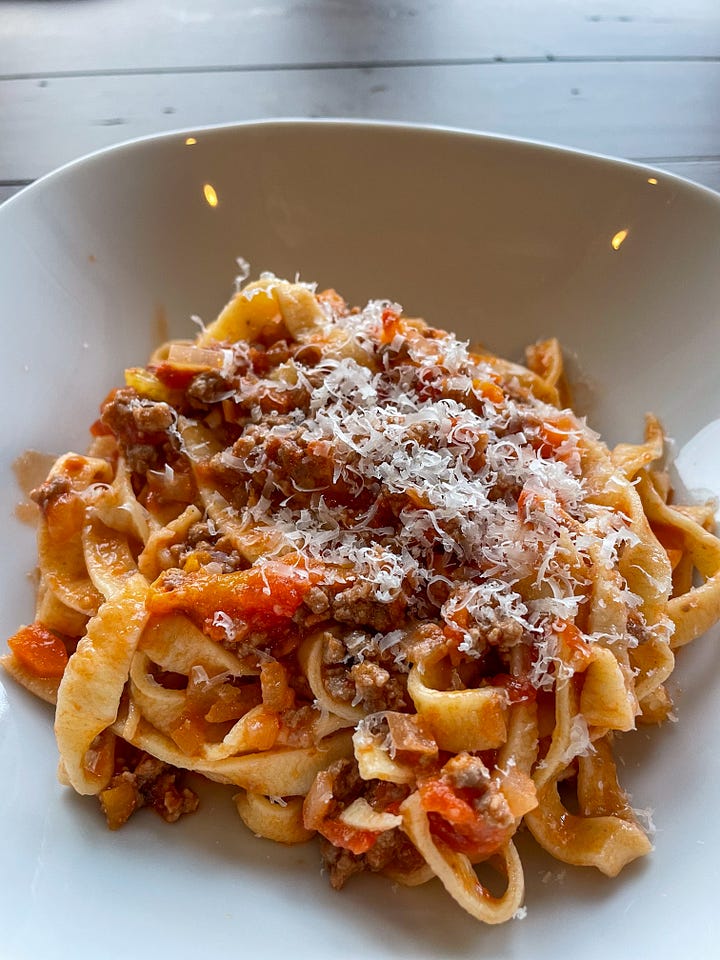
Bolognese
Bean Stew
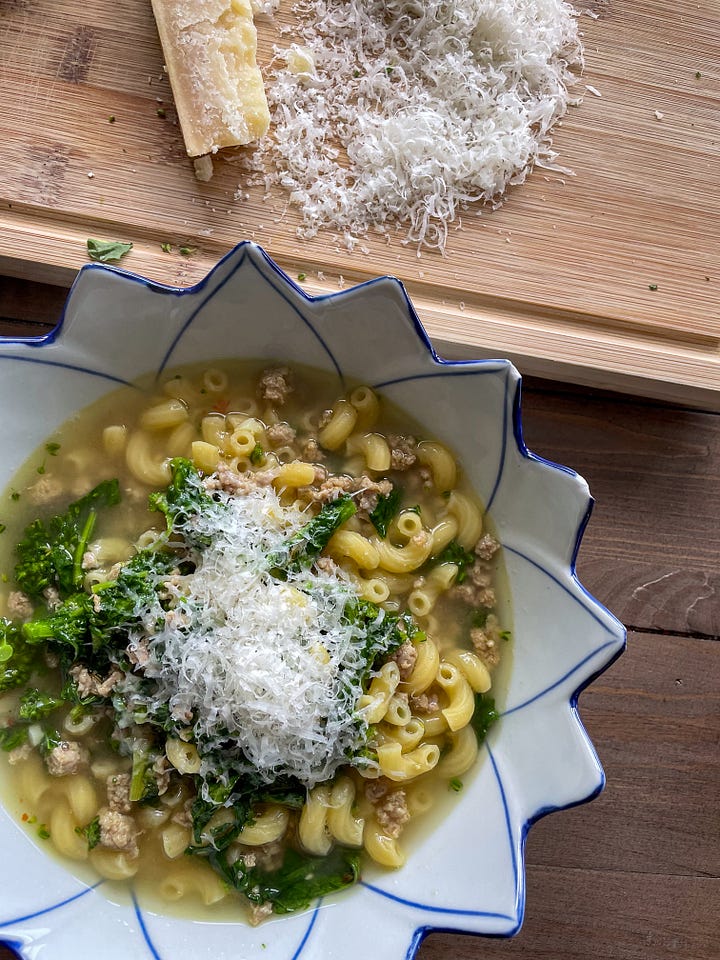
Pork Noodle Soup
Latkes
Clam Pasta
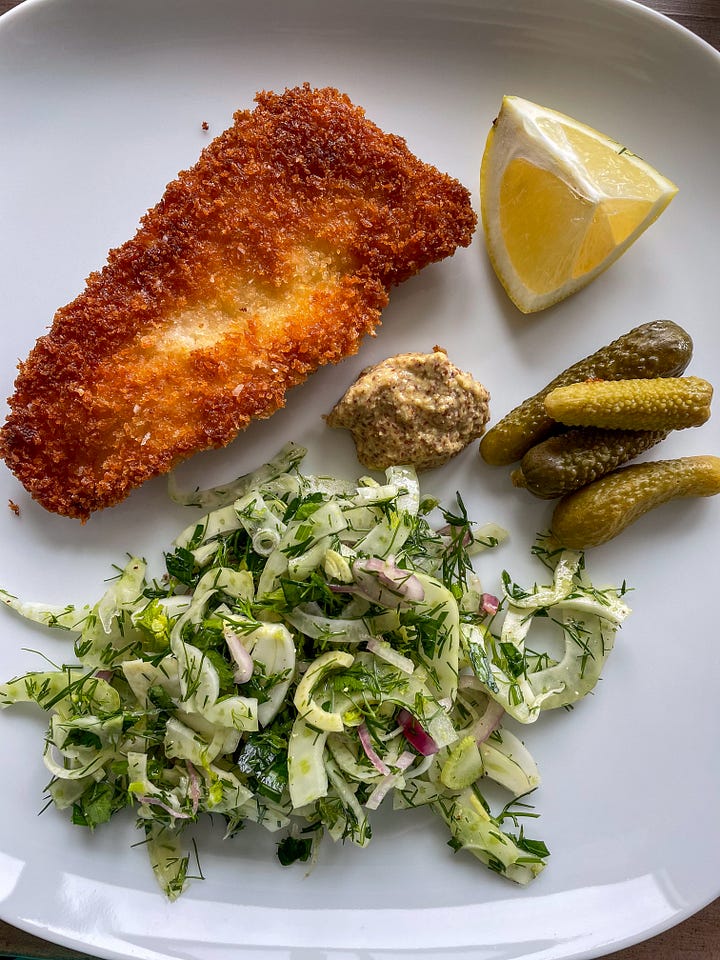
Crispy Cutlets
Spaghetti Carbonara
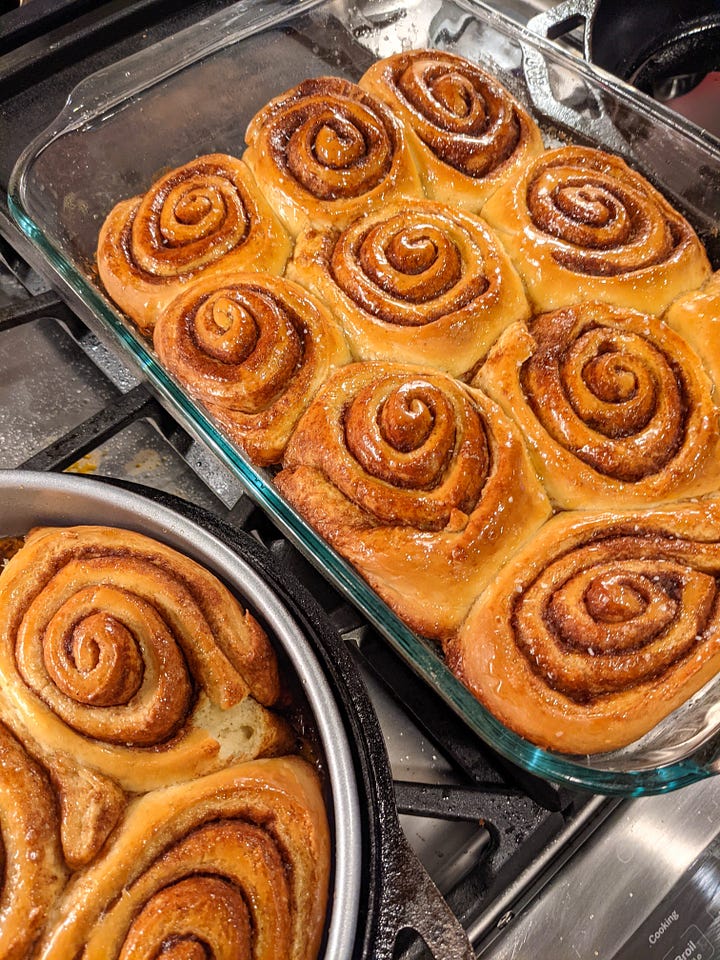
Cinnamon Rolls
Eggplant Parm
Meatballs
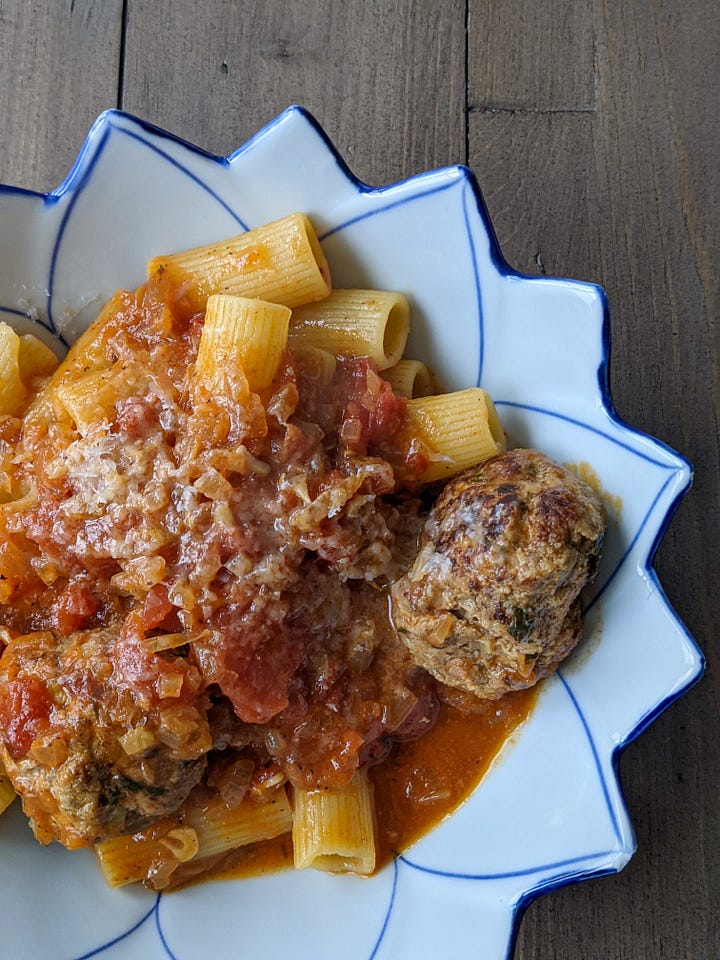
From NYT Cooking (you will need a subscription to access)
Lemony Shrimp Stew
Roasted Brussel Sprouts
Bibimbap
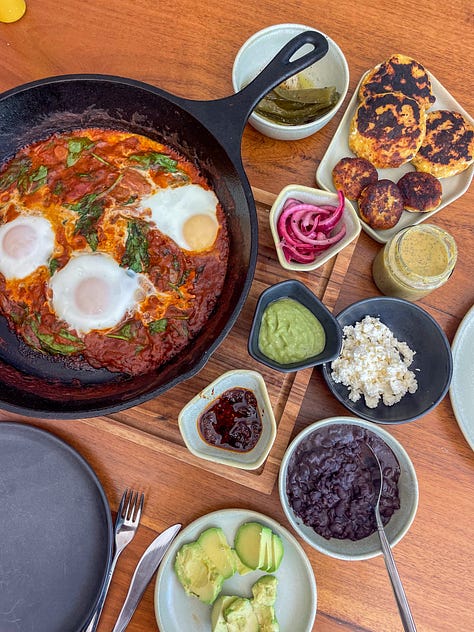
Shakshuka
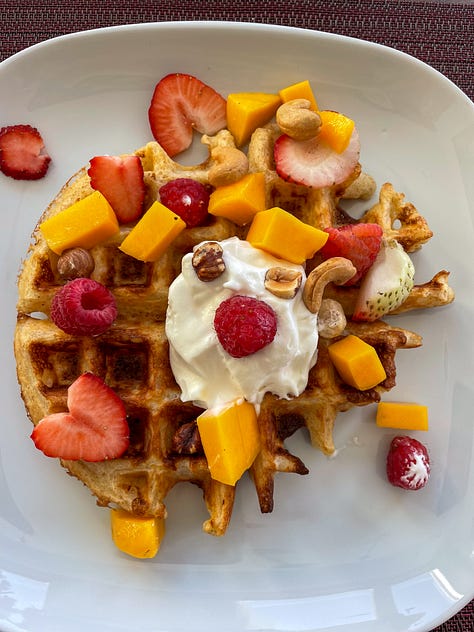
Waffles
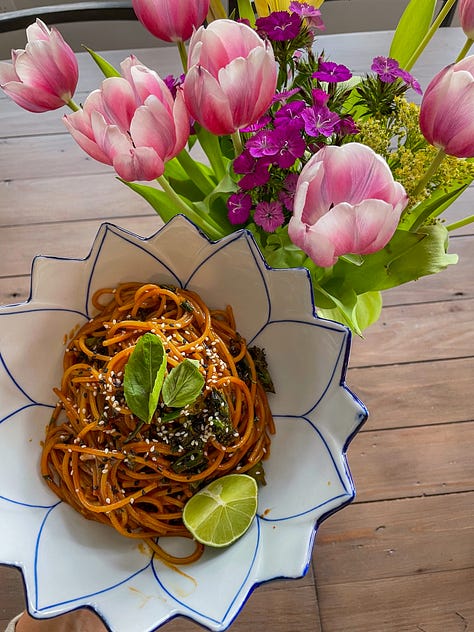
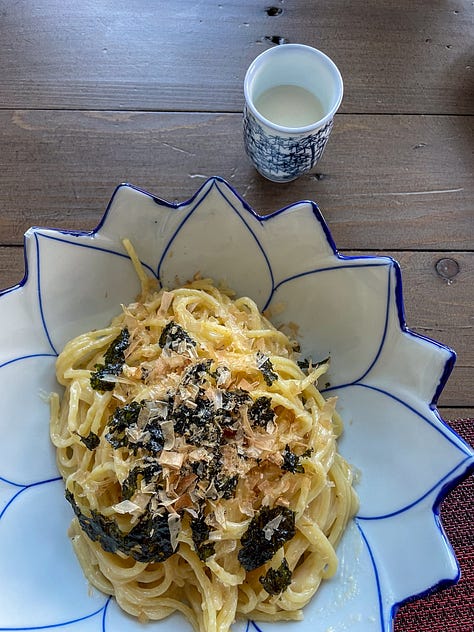
Miso Pasta (Alan’s fav)
Shallot pasta (my fav)
Tiny, salty, chocolaty cookies
Baked tofu with peanut sauce
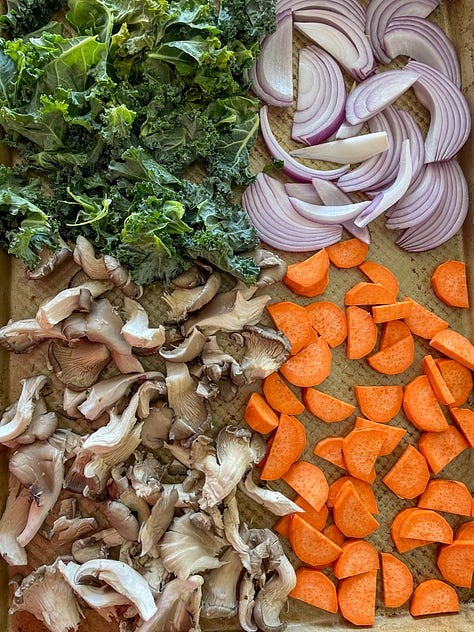
Baked feta with veggies
Baked eggs with smoked salmon
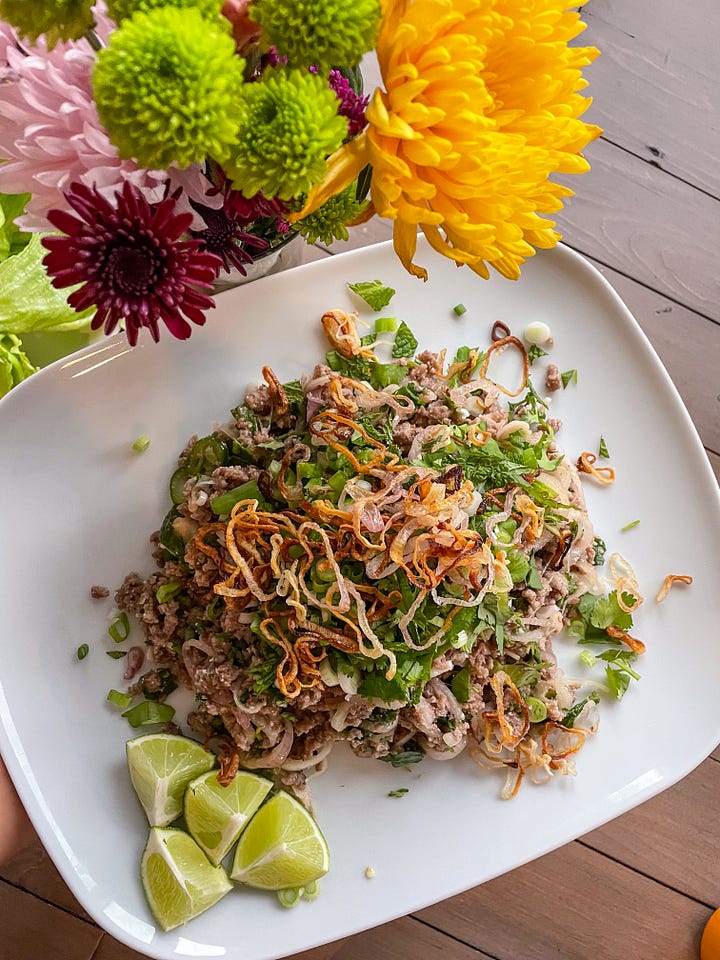
Thai Larb
Gochujang Eggplant
Cod Cakes
Cauliflower and olive gratin
The best scramble eggs
Beet rosti
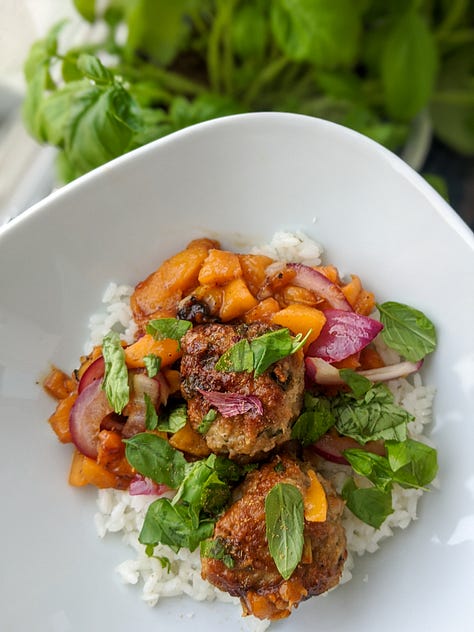
Meatballs & Peaches
Ice creams!
Important note: I make every single ice cream recipe and most baking recipes with 1/3 of the sugar called for. It’s always more than enough for us.
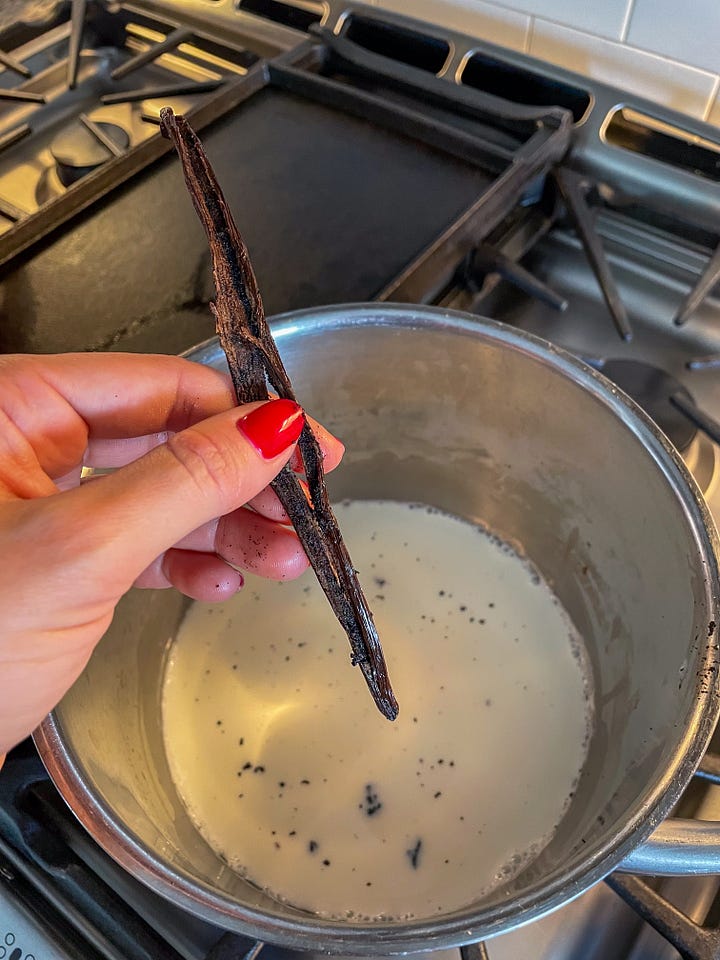
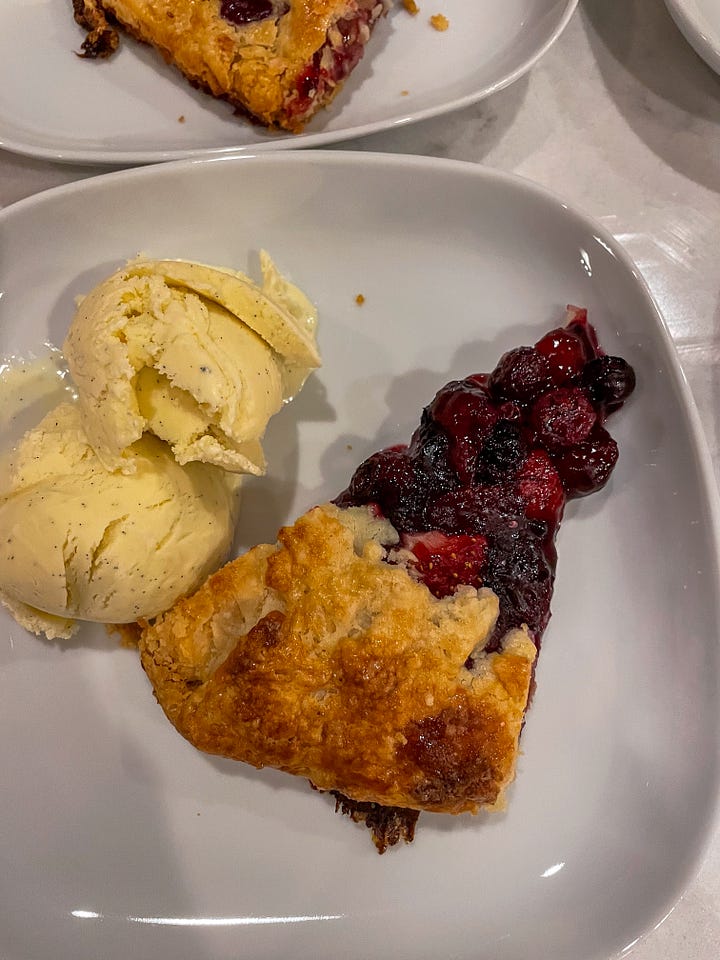
Vanilla ice cream
Hard to beat a good (real) vanilla ice cream! It’s worth the price of those vanilla beans, promise.
Mexican chocolate ice cream
From The Perfect Scoop
Ingredients: 2 1/4 cups heavy cream, 6 tbsp unsweetened dutch-process cocoa powder, 3/4 cup sugar (I use 1/4), 3 oz bittersweet chopped chocolate (I use 85%), 1 1/4 whole milk, 1 tsp vanilla extract, pinch of salt, 1 1/4 tsp cinnamon, 3 tsp chile powder (I use dried ancho chile), 2 tbsp brandy (I use mezcal :))
Whisk together the cream, cocoa powder, and sugar in a large saucepan. Heat the mixture, whisking frequently, until it comes to a full, rolling boil (it will start to foam up). Remove from the hear and add the chocolate, then whisk until it is completely melted. Stir in the milk, vanilla, salt, cinnamon, chile powder, and mezcal. Pour the mixture into a blender and blend for 30 sec, until very smooth. Chill the mixture thoroughly in the refrigerators, then freeze it in your ice cream maker according to the manufacturer’s instructions (usually 20-30min).
Roquefort & Honey ice cream
From friends / family / other
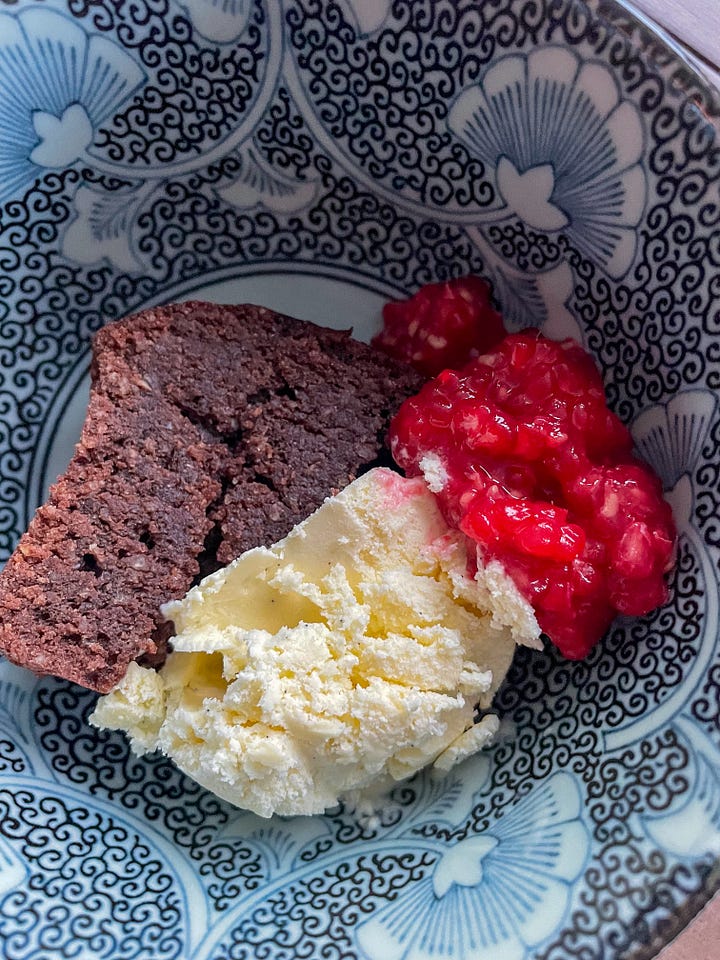
Flourless Chocolate Cake
My favorite chocolate cake! I have never made the ganache - it doesn’t need it - but it sounds amazing.
Gochujang Pasta
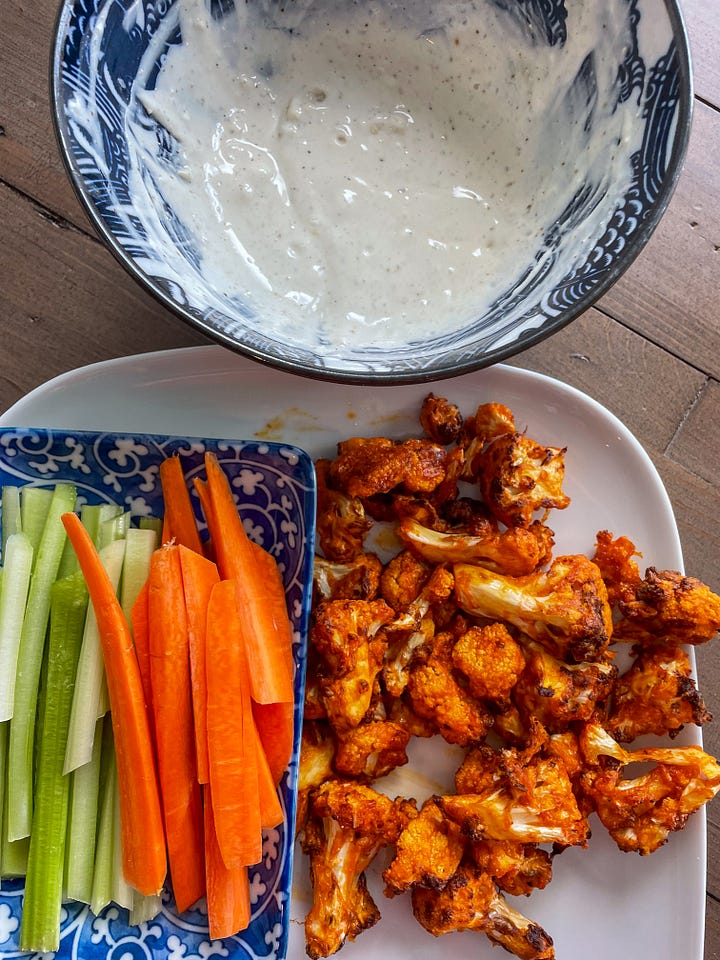
Air Fryer Buffalo Cauliflower
Tortilla de papa
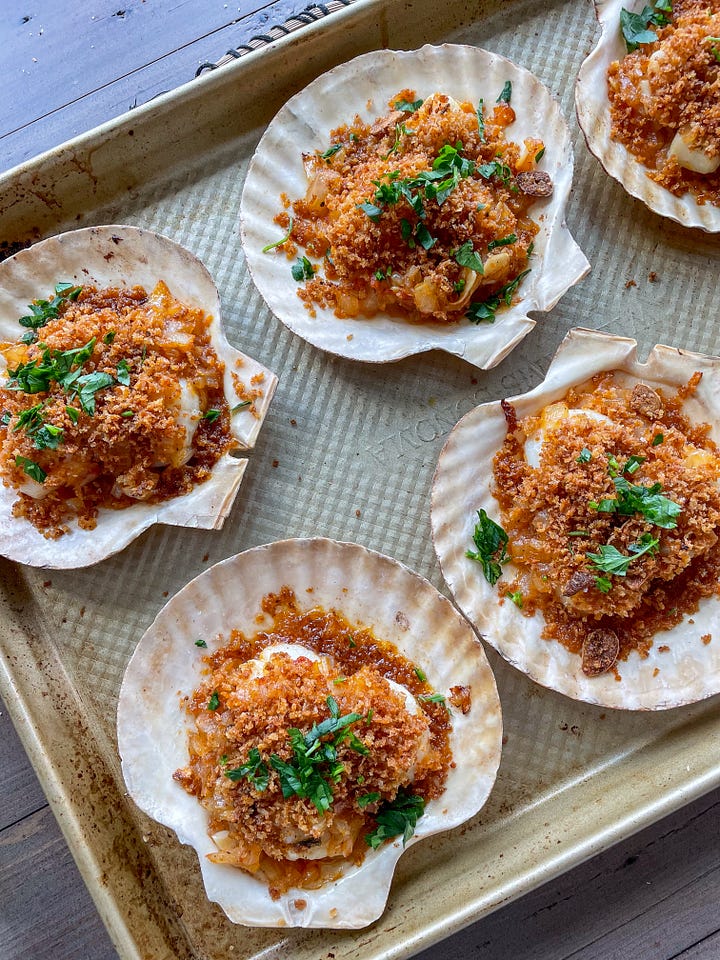
Scallops a la gallega
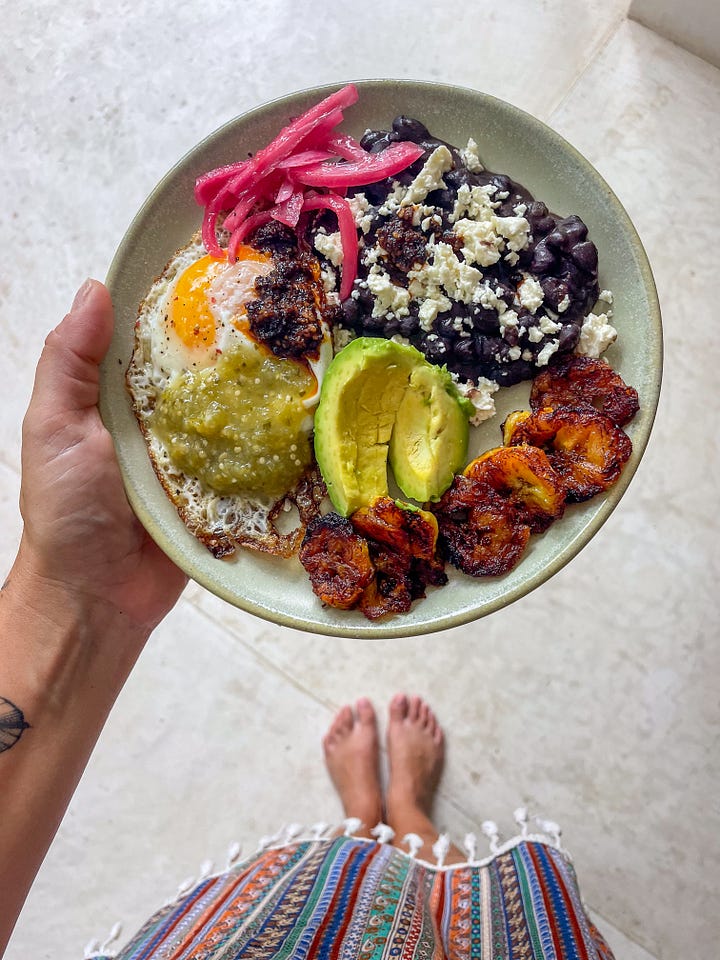
Venezuelan Black Beans
I don’t have a recipe for this as I make them so often, but it’s pretty basic.
Ingredients: 1 lb of black beans, 1/2 white onion whole, 1 white onion chopped, 8 garlic gloves chopped, 1 cup of olive oil, 1 cup of piloncillo (you can find this in most supermarkets in the USA, but if not, you can use dark brown sugar), 1 tablespoon of kosher salt, 1/2 tsp of black pepper
Cook the dried black beans in a pressure cooker along with the half onion and around 10 cups of water (until soft, usually around 30min on high pressure + 20min release).
In the meantime, heat the olive oil in a skillet and cook the onion and garlic until very very soft, around 15-20min.
Once the beans are done, put them and their liquid on a big pot and add around 3 to 5 cups of water, enough for all the beans to be under water.
Add the salt, pepper, and piloncillo and bring to a simmer for 20min
Add the onion and garlic sofrito, and simmer for another 10min or until the consistency thickens.
Let cool and put in containers. I usually freeze half of it.
I usually eat as-is (as a side for my eggs topped with cheese, inside arepas, etc) but you can also re-fried them, by putting more onion and garlic to cook in oil and then adding one or two cups of beans to the mix until it thickens.
The Best White Rice
Ingredients: 2 cups of white rice, 3 cups of water, 1/2 onion, 2 garlic cloves, 1/4 cup olive oil, 1 1/2 tsp kosher salt
Wash the rice in a colander under running water. Put rice in a heavy pot with the water, onion, garlic, salt and oil. On high heat get the mix to boil until almost out of water, around 5min. Then lower the heat to its lowest setting, cover, and cook for around 20min or until it’s soft and dry. Mix with a fork and serve.
Mushroom Risotto
Ingredients: 7 cups of chicken stock (or veggie), 2 tbsp olive oil, 1/2 cup onion chopped, 1 lb mushrooms (any kind! mix them up), 2 garlic cloves, 2 tsp thyme, 1 1/2 cup arborio rice, 1/2 cup dry white wine, 2 tbsp fresh parsley, 1/2 cup parmesan cheese, 1 tbsp of butter
Bring stock to simmer in a saucepan and keep it simmering on the stove. Heat oil in a wide and heavy skillet (dutch oven is great here!) over medium heat and cook onions until tender, 3 to 5 min. Turn up heat and add mushrooms, cook until they being to sweat, around 3-4min, then add garlic and thyme. Season with salt and pepper and continue cooking until they are soft. Add rice and stir until it’s all covered in the mix, then add wine and cook until the wine is evaporated. Then stir just enough of the stock to cover the rice. Cook while stirring often until almost all stock is gone, and then do it again. Repeat this process for around 20min, or until the rice is tender (but still al dente). Add some more stock, stir in parsley and Parmesan, and remove from the heat. Stir the butter, season with black pepper and serve right away, with more Parmesan on top :).
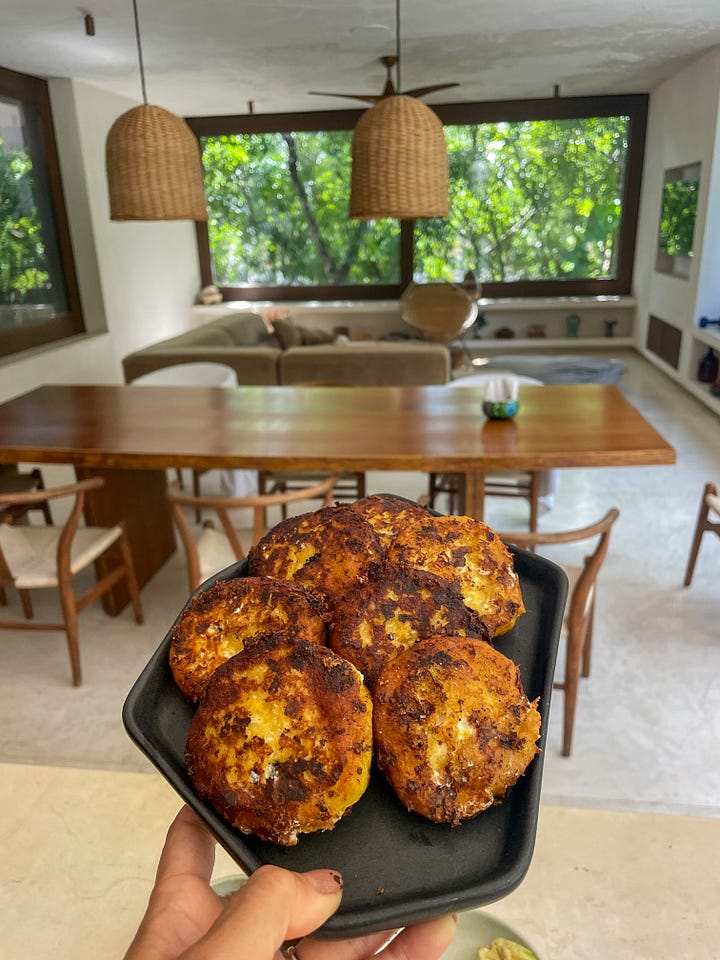
Beet & Chia Arepas
Ingredients: 2 cups of Harina Pan (found in most supermarkets in the USA), 1 medium beet, 1/2 - 1 cup of water, 1/2 tsp of kosher salt, 1/4 cup of chia seeds
Disclaimer: for a long time I have made arepas without any measurements or exact recipe. Recently I taught a good friend how to make them and tried to pay more attention to that stuff… but, note that this is all an approximation ;). Let me know how it goes!
Turn the oven to 450 F (or highest setting). Peel the beet, cut it, and blend it with around 1/2 to 1 cup of water. You should have around 2 cups of this beet liquid. Put flour in a bowl and add chia and salt, mix. Then add the beet liquid and mix (with your hands!). The consistency should be pretty soft but it shouldn’t stick to your hands, add more water or flour as needed (understanding the right consistency is not super easy but it will be clearer once you make them a few times). Cover with a kitchen towel and let sit for a few minutes.
In the meantime put a skillet (cast iron /comal is ideal here) under medium-high heat, and add a splash of olive oil (just to coat the surface, using a paper towel helps with this). After a few minutes check the flour mixture for consistency, again it shouldn’t feel too hard (it should give when you put a finger on it) or too soft (it shouldn’t stick when you touch it), so if it does add a bit more water or flour. Then shape them! first make a circle and then flatten it while shaping the corners of the circle (again, this will come with time). Truthfully, any shape is fine! wathever makes you happen :)
Place them in the cast iron (which should be very hot by now), and flatten them a bit with your hand or a spatula. Let them be for around 5min, or until you can easily flip them without them being stuck to the skillet (sometimes they will stick regardless, just try to salvage as much as you can and flip). Let it be for another 5min. Then flip again and cook for at least 2-3min each side again, until the outside skin is cooked/charred in some areas. In theory, they are done now and you can eat them as such. But, they will be better if they spend a few minutes in a very hot oven! So, put them directly in the oven rack, around 5min per side. You will see them puff up and become crispy on the outside.
Fill them with whatever your hearts desires! I love them with butter, white cheese (fresco or feta), and fried plantains.
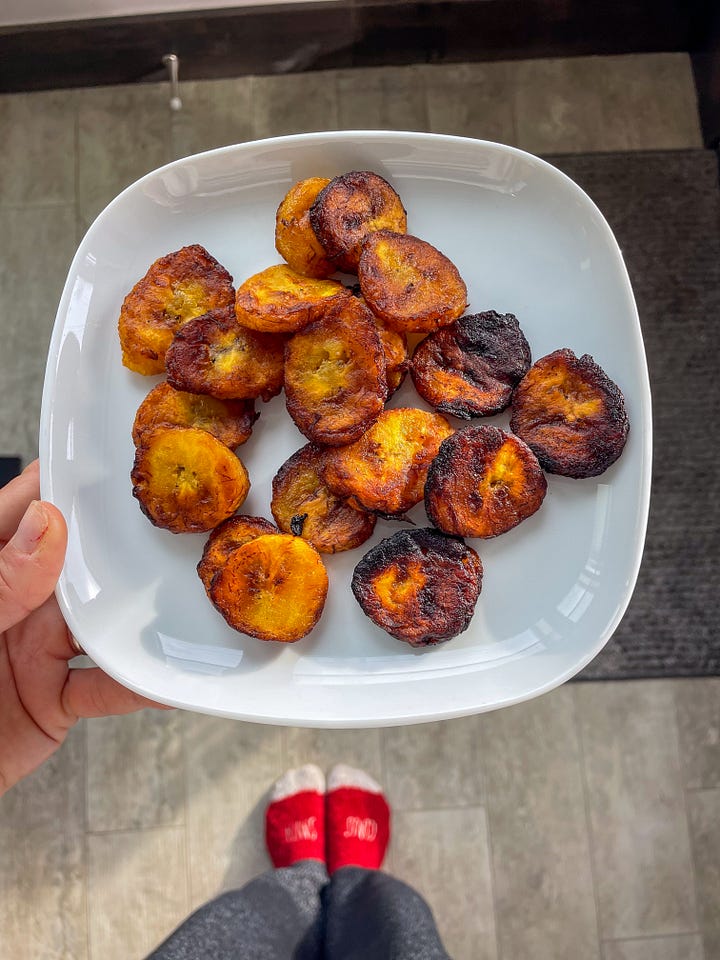
Fried Plantains
Note that you need a good plantain here, which is sometimes difficult to find! Let the plantain become very very mature, almost entirely black. Peel and cut it in rounds. Heat an inch of oil (I use olive oil) in a small skillet (cast iron is ideal) and fry them up!
Happy cooking!!


